
Newer computers may come preinstalled with the Java 64 bit windows 10 version which would include the Java Runtime Environment (JRE) with several libraries, packages, plug-in, and the Java Virtual Machine (JVM). An upgrade often becomes necessary due to the security issues that often arise from using the browser plug-in.
Computer users that need Java may manually install or upgrade the Java Development Kit (JDK) or JRE. The JDK which also contains the JRE is necessary for people that intend to develop Java programs using their computers. Installing the JRE alone will allow you to run Java programs and applets on your browser.
Although a stable Long-Term Support (LTS) version of Java 11 is now available, most people still prefer the older Java 8 on Windows 10. You can install multiple versions of Java concurrently on your machine. A computer with the 64-bit architecture can run both the 32-bit and 64-bit options.
In today’s article, we will be discussing the few steps that would enable you to install or upgrade Java to 64-bit on your Windows 10 computer:
Step 1 – Download Java JRE 8
You would need to download the Java 64 bit windows 10 version on your computer. It is pretty easy to find and can be downloaded from several sites, including Oracle’s official website. Once you click on the download button, the file is saved in a selected location on your computer.
Step 2 – Install Java JRE 8
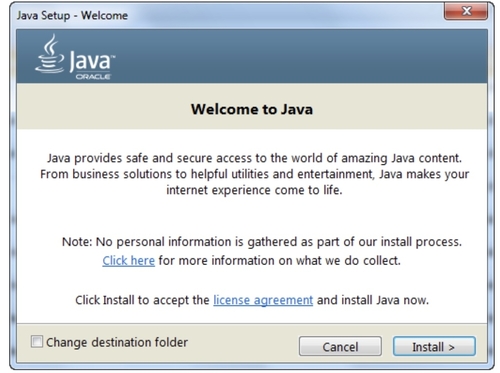
After the download is complete, locate the downloaded file on your computer. Right-click it and select “Run as administrator” to launch the installation wizard.
You can change the installation directory by clicking the checkbox that appears on the bottom left corner of the screen. Clicking “Install” means that you have accepted Java’s license agreement and the installation process begins.
Java SE JRE 8 Installation Wizard
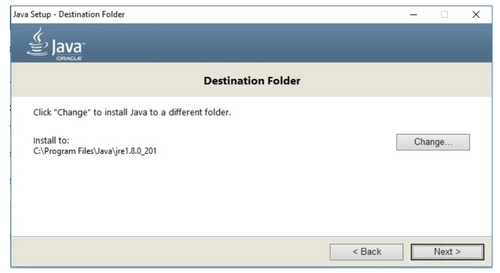
If you have opted to change the destination folder, a different screen appears after clicking Install. It provides a means for changing the installation directory. When you are satisfied with the changes, click Next, to continue with the installation.
Java SE JRE 8 Installation Wizard – Custom Setup.
Step 3 – Installation Progress
Once installation starts, a progress window appears on your screen.
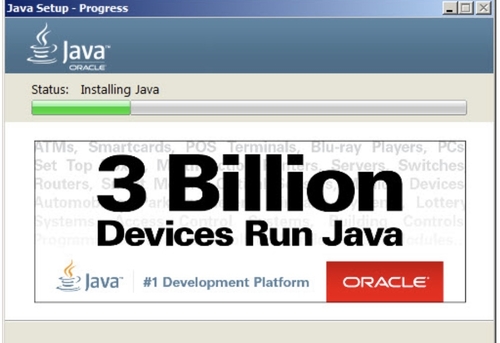
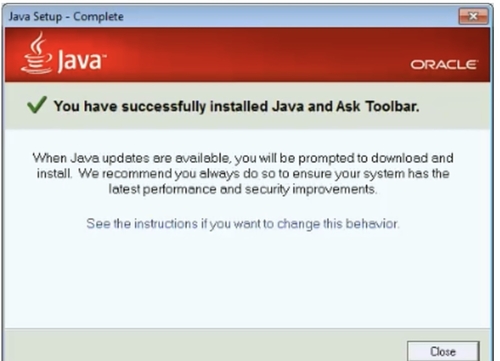
The installation process will run for a short while until the entire set-up is complete and the required changes are implemented. Then, close the installation wizard.
Java SE JRE 8 – Installation Complete.
Step 4 – Check the Installed Java Version
You can check the version of Java that is installed on your computer with a few simple commands. These commands can be run on the Windows Powershell or cmd.
For PowerShell:
Click the Start + R buttons to launch the Run window. Then, type “powershell” into the input field and press enter.
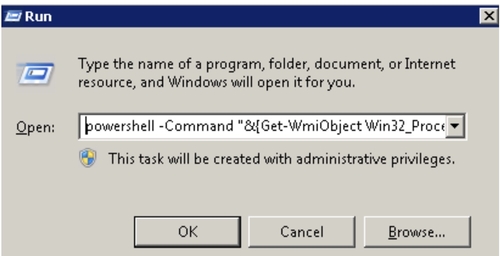
Run Window for PowerShell.
Once the PowerShell window is launched, type “java –version” and the details of your installation is displayed on the screen.
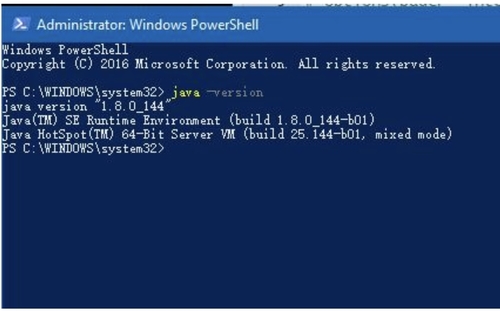
Java Version Check for Windows PowerShell.
For Command Prompt:
Click the Start + R buttons to launch the Run window. Then, type “cmd” into the input field and press enter.
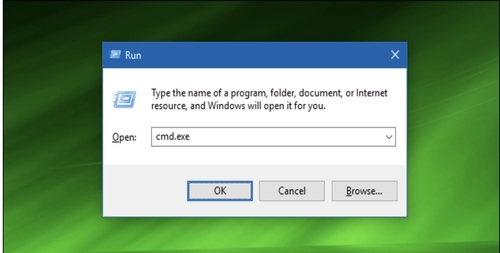
Run Window for Command Prompt.
Once the command prompt window is launched, type “java –version” and the details of your installation is displayed on the screen.
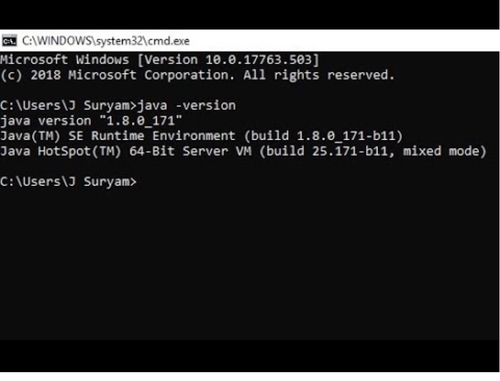
Java Version Check for Windows Command Prompt.
If you get a similar display on your screen, then you have successfully installed Java JRE on your computer.